Thursday, 29 January 2015

Highlighting Like A Pro(Artist)


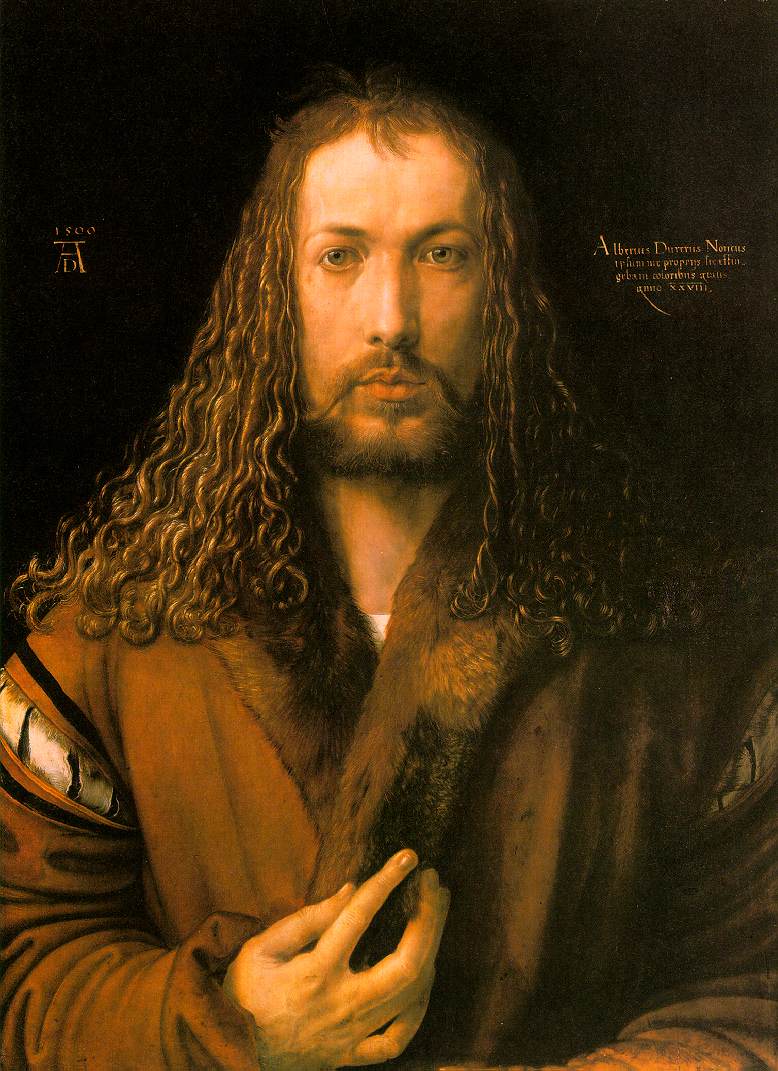
The above image is a self protrait by the artist Albert Durer in 1500. The level of detail which he has shown here is astonishing, but what Durer was really good at, and what he really knew how to do, was to use light. To show where the ligth source would hit the skin, and how this would highlight the face.
Within make up, we use highlighter to naturally show the 'high' points of the face; to accentuate those areas which the light would in order give ourselves more a glow in a natural kind of way. And that's exactly what painters want to do. Were an artist to paint a face without any highlight, not only would it be extremely dull, but it would also be rather unrealistic.

Now I'm not saying you need to highlight the exact areas that Durur has...applying highlighter to your fingers might not be the best option, but if you're unsure where exactly to highlight, then this is one way to think about it.


An image I used for an article in Moda, this is one of the classic tips for highlighting, and I am by no means sharing it as my own. But make sure to highlight in a triangle shape under your eyes to really highlight (that doesn't even sound like a word anymore) that area.
Down the nose, the browbone, the cheekbone, the cupid's bow and the inner corner of the eye are all the best places to highlight.
If you are still unsure whether or not to highlight an area, just think if you were painting your face, like an artist: what areas would you want to look a little more glowing?

If Durer knew how to highlight in 1500, then you can definitely know how to in 2015!

Are you a highlighting pro like Durer?
xoxo

Thursday, 22 January 2015

Real Life Frozen


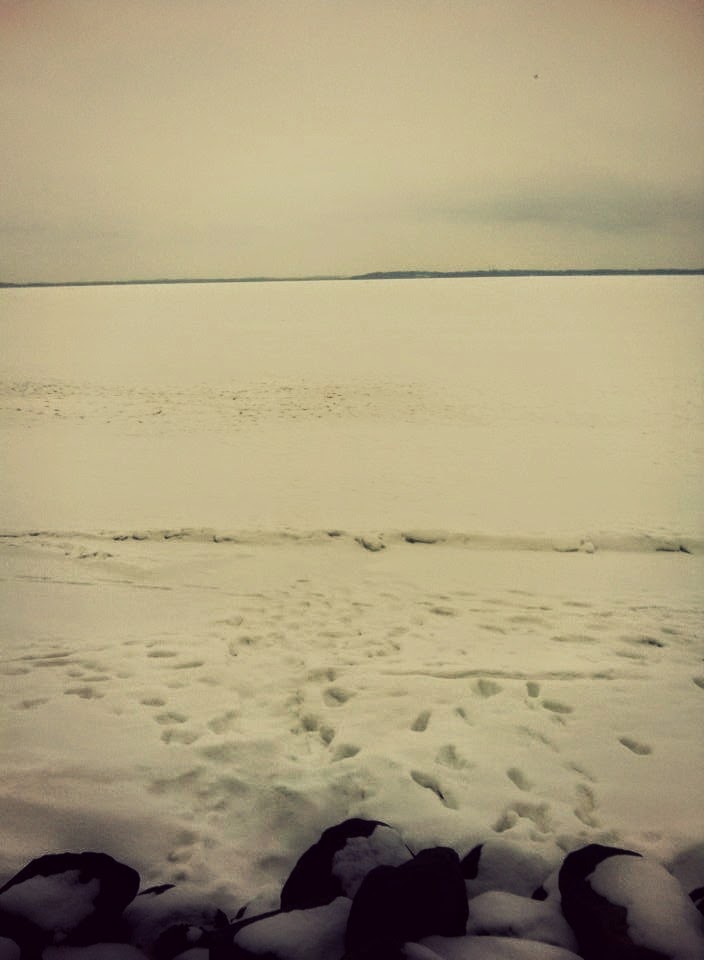
Just keep in mind while scrolling... all of these were taken on a frozen lake; that is not land!


So...yesterday we walked across the FROZEN LAKE Mendota to Picnic Point! It was truly one of the most nerve-wracking, but amazing experiences of my life. We walked across ice!!! Frozen water!!! We made snow angels on it!! 
I have never before seen anything, or done anything like this before. And I'm so glad to have had my friends there with me goading me on!

Have you ever done anything like this!?
xoxo

Tuesday, 20 January 2015

Clinique Bottom Lash Mascara | An Ode to Products at Home


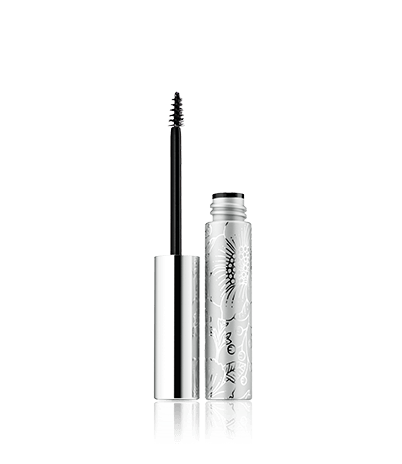
Having just been at homehome, (I see Madison as being my third home, Leaming/Warwick my second), I was reunited with some much loved products. One of those being the Clinique Bottom Lash Mascara, that is a little gimicky, and is a little unnecessary, and is aimed a little bit at those that really do have a problem with beauty products...
But it's so good! The teenytiny brush is so good for really making your bottom lashes stand out. Not to mention, as Tanya Burr said in a video, it does not smudge. So you are not left with that reminiscient panda eye look under your eye. Ain't nobody got time for that
You might also think that you don't need to be putting mascara on your bottom lashes. Now I'm not going to say that you are wrong to think that...but once you try this baby, you will just know they look that much better. It just makes your eyes look that bit more finished and, done
Did I mention that the teenytiny brush is great for really applying product onto the corner lashes? And that it's so small you won't make any mistakes? 
The packaging is also really cute (a word which I seem to have started using much more often and to refer not only to animals) with the lovely flower patten embellished onto the outside.
And it's so small. Did I mention that?

You can buy this masacra at Sephora here for what I consider to be a measly $10, as when I purchased it in Boots, I'm pretty sure it was about £12. (However I only ever buy Clinique products when it's Bonus Time; obvs!) 
So all in all, it's not really that expensive to make your bottom lashes look better. Not really. ... 

Have you whacked on the bottom lash mascara?
xoxo