
What you need:
- 1 canvas (whatever size you want/colour/pattern. I just used plain white)
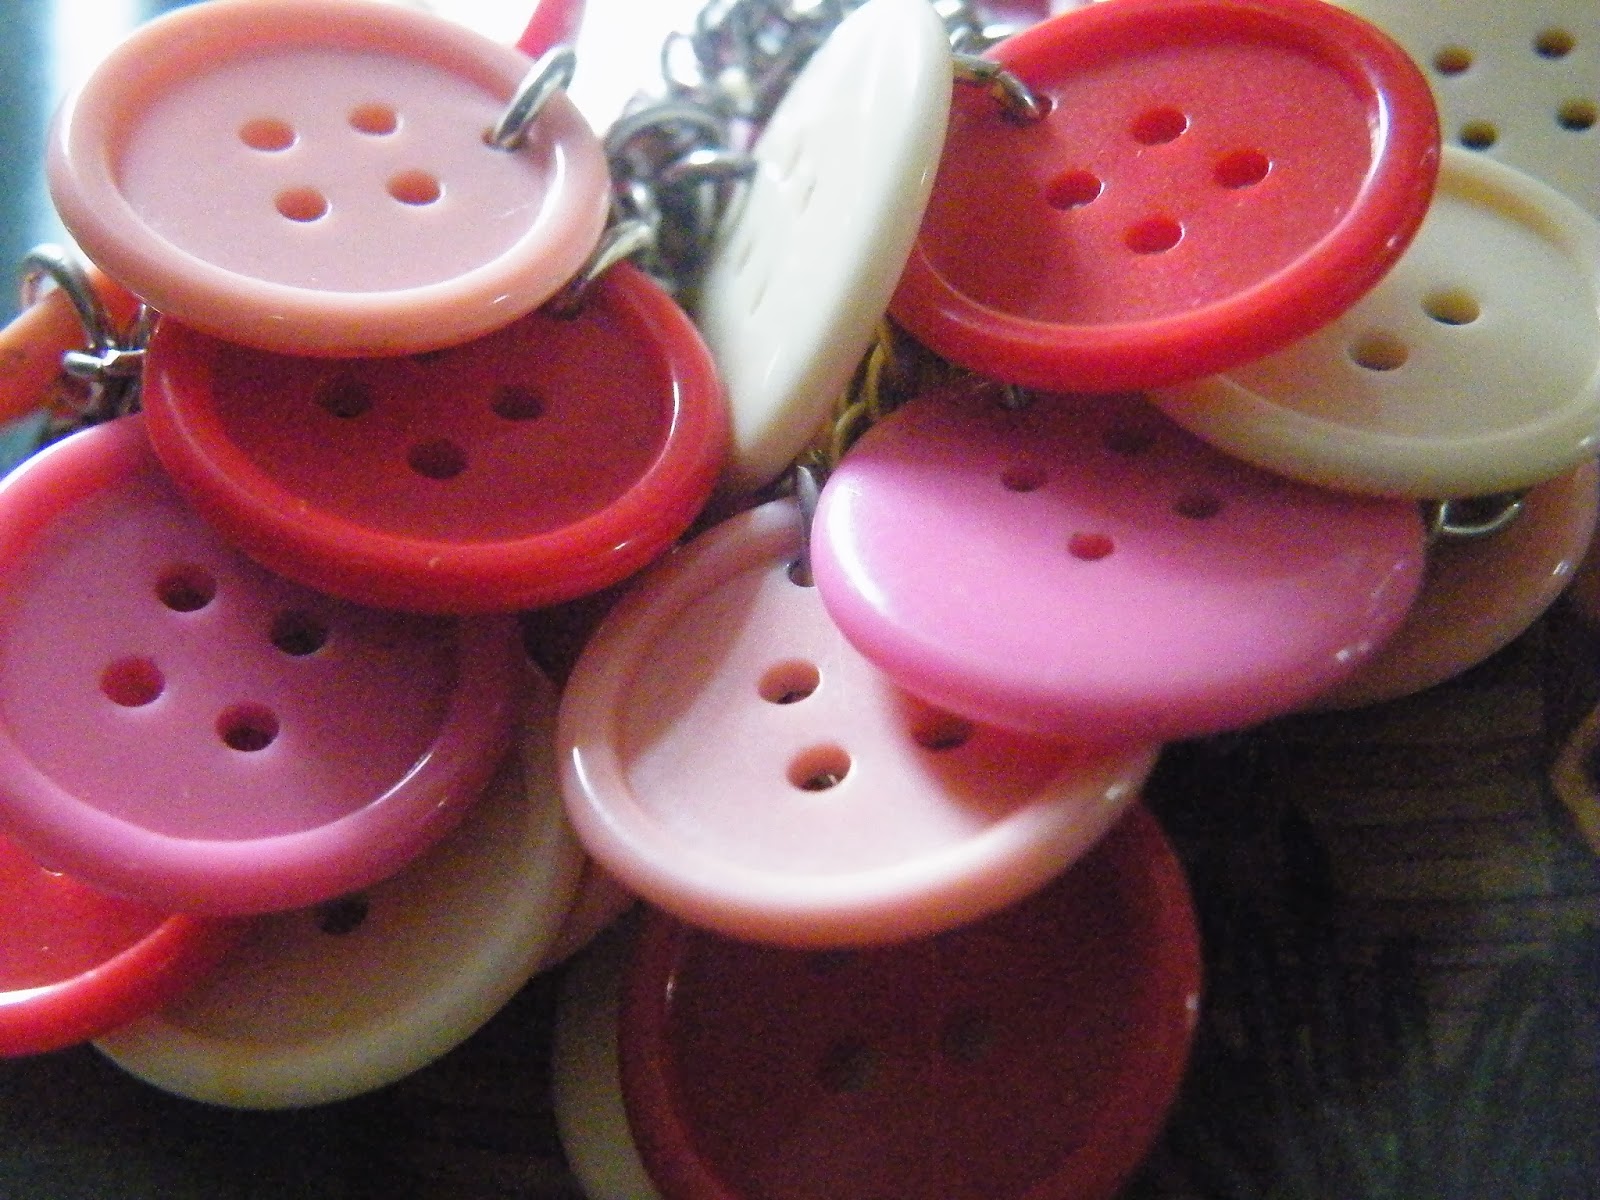
- Buttons; I used a combination of buttons and sequins
- Pencil
- Needle and Thread (preferably white, or a colour that won't be seen; unless you want it to be!
- Glue (in case of sequins or gems etc)

What you do:
- First sketch out an outline. You of course don't have to do this, but I found it much easier to have an outline. I googled for the right kind of font that I wanted as I struggled to get the shape quite right.
- You can now begin to sow your buttons and sequins on! I started with smaller ones in the corners and then worked my way into the centre of the shape with the bigger ones.
It took a lot of placing and re-placing to work out the positioning I wanted so you may want to try different buttons in different places before sewing them down.
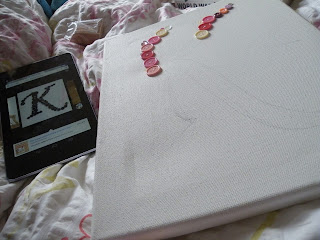
- I then just kept filling in the shape gradually, re-arranging as I went along until I was happy with the positioning.
(This is now going to get a little picture heavy..!)


The Finished Product!


I think these would make lovely Christmas decorations and are inexpensive if you already have all of the things lying around which I'm sure most of you do!
What initial will you do?
xoxo
What initial will you do?
xoxo

No comments:
Post a Comment